
MiniKorg-700S

MiniKorg-700S
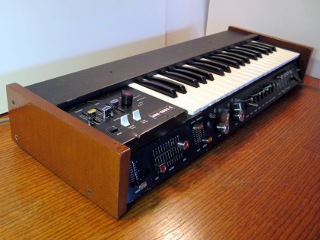
To repair synthesizers, it helps to be part electronics technician, part metal worker, and part wood worker. In the case of this MiniKorg-700S, good wood working skills came in handy.
Missing End Caps

Missing End Caps
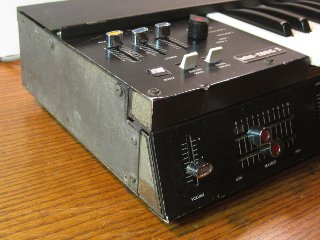
Before even turning on the MiniKorg, it was apparent that it had some cosmetic issues. The most obvious one was a lack of wooden end caps. At some point in the past, somebody removed them, and they were lost.
This was the last part of the repair that I completed. But it was the first thing that I started.
I wanted to get a nice glossy finish on the end caps. This took several evenings of applying stain or varnish, and letting it dry overnight. While the end caps were drying, I worked on the electronic issues.
I also needed to mill out some grooves in the wood, so that the end caps would lay flat against the synth, and not stick out due to protruding screws and panels. The end caps don't actually touch the table, as there are rubber feet on the body of the synth.
In the end, the new end caps looked so nice that it took the eye away from some of the other scratches and dents in the MiniKorg.
Old Power Supply Capacitors

Old Power Supply Capacitors
New Capacitors, Lined Up And Waiting

New Capacitors, Lined Up And Waiting
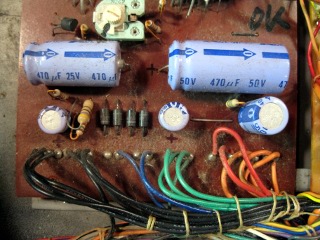
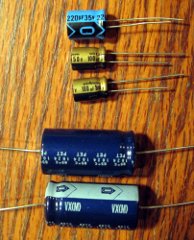
As with most synths this old, the power supply caps were overdue for replacement. It can't be stressed enough how important this is, as if the capacitors fail, they can cause the power supply to fail. This in turn can send high voltages to the other parts of the synth, causing more damage. It's just easier to replace the capacitors when you have the opportunity.
From the looks of the dirt and crud around the old power supply board, it looks like this MiniKorg is also due for an internal cleaning!
The only other issues remaining were all related to dirty switches and faders.
The MiniKorg has a large number of toggle and rotary switches on the front panel. Internally they are oriented so that any dust or dirt that falls through the keyboard will land directly on the switch contacts. A careful cleaning of the switches (and faders) brought everything back.
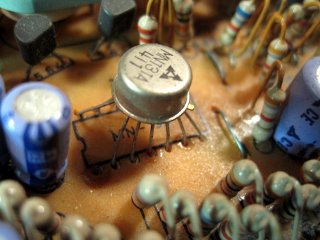
Old Transistor Array In A New Board

Old Transistor Array In A New Board
While looking around inside of the synth, I came across this nice example of future proofing.
Shown in this photo is a transistor array, packaged in a TO5-12 (the round metal can with 12 legs). Around the time when this synth was manufactured (1974), these types of packages were being replaced with the familiar Dual Inline Packages (DIP).
You can see from the legend on the circuit board, that the designers were anticipating switching over to the new DIP packaging.